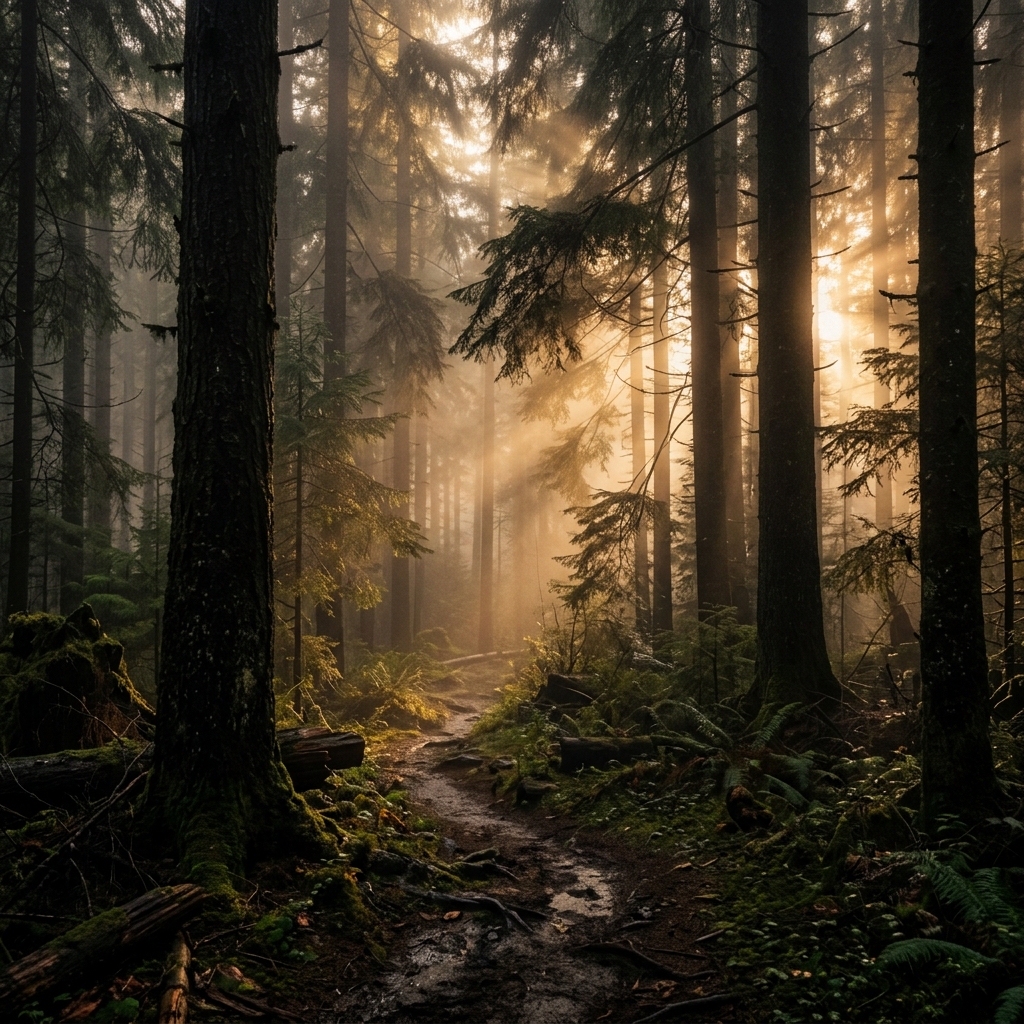
Forests are incredibly beautiful but notoriously difficult to photograph. The lighting is constantly changing, shadows are deep, highlights are piercing, and the sheer amount of visual chaos can easily result in messy, unappealing images. If you leave your smartphone on its default "auto" settings, you will likely end up with blown-out skies and crushed, muddy green shadows.
To capture the true mood, atmosphere, and cinematic quality of a forest, you need to take control of your camera settings. In this comprehensive guide, we will break down exactly how to configure your settings, and how using a specialized tool like LeafyCam can drastically improve your mobile landscape photography.
1. Mastering Exposure in the Woods
The biggest challenge in forest photography is dynamic range—the difference between the brightest parts of the image (sunlight poking through the canopy) and the darkest parts (deep shadows under the trees).
Ditch Auto Exposure
When you point a stock camera app at a forest, its metering system gets confused. It sees the dark trees and tries to brighten the image, resulting in a washed-out, overly bright photo where the sky is completely white. This destroys the moody, cinematic feeling of the woods.
Expose for the Highlights
The golden rule of digital forest photography is to expose for the highlights. It is much easier to recover detail from shadows during the editing process than it is to recover a blown-out white highlight. Using LeafyCam's manual mode, lower your exposure compensation (EV) or manually adjust your shutter speed until the brightest parts of the image retain their detail and color.
Pro Tip: Use the Histogram
LeafyCam features a live RGB histogram on the viewfinder. Make sure the graph isn't pushed all the way to the right edge. If it is, your highlights are clipping. Dial back the exposure until the graph shifts to the left.
2. ISO: Keeping it Clean
ISO controls the sensitivity of your camera's sensor. While modern smartphones have incredible computational low-light modes, standard RAW photography requires you to be mindful of your ISO.
In a dark forest, it is tempting to raise the ISO to 800 or 1600 to get a brighter image. However, high ISO introduces digital noise (grain) and reduces color accuracy. For cinematic, high-quality prints or edits, you want the cleanest file possible.
- Ideal ISO: 50 to 100
- Maximum recommended ISO for mobile: 400
If locking your ISO at 100 makes the image too dark, do not raise the ISO. Instead, lower your shutter speed. If you lower your shutter speed so much that camera shake becomes an issue, use a tripod or lean your phone against a tree.
3. Taking Control of Focus
Autofocus struggles in forests. There are branches, leaves, and trunks at every conceivable distance from the lens. Often, the camera will lock onto a stray branch in the foreground rather than the path winding through the trees in the midground.
Manual Focus and Focus Peaking
Switch to manual focus. This allows you to specifically choose your subject—whether it's a mushroom on a log in the foreground or a distant hiker. LeafyCam includes a feature called Focus Peaking. When activated, it highlights the edges of whatever is currently in focus with a bright green outline. This removes all the guesswork from manual focusing, ensuring tack-sharp images every time.
4. The Importance of White Balance
Forests are green, but the type of green matters immensely to the mood of the photo. Auto White Balance (AWB) often tries to neutralize colors. In a forest, it might try to make the rich, warm green canopy look neutral gray, resulting in a lifeless, magenta-tinted image.
To get a cinematic look:
- Cloudy/Shade Preset: If you are under a dense canopy, switch your white balance to "Cloudy" (usually around 6000K). This warms up the image, enhancing the earthy tones and making the forest feel inviting rather than cold.
- Custom Kelvin: Using LeafyCam, manually dial in your Kelvin temperature. Slide it until the greens look rich and natural to your eye.
5. Always Shoot RAW
If there is one setting you must change, it is your file format. JPEGs are compressed files where the camera makes permanent decisions about contrast, saturation, and sharpening. Smartphone stock cameras are notorious for applying aggressive HDR algorithms that make forests look like neon, over-sharpened paintings.
By enabling RAW capture in LeafyCam, you bypass this processing. You receive a pure 16-bit DNG file containing all the raw sensor data. This gives you immense power in Adobe Lightroom Mobile or Snapseed to recover shadows, tone down highlights, and apply your own cinematic color grading without the image falling apart.
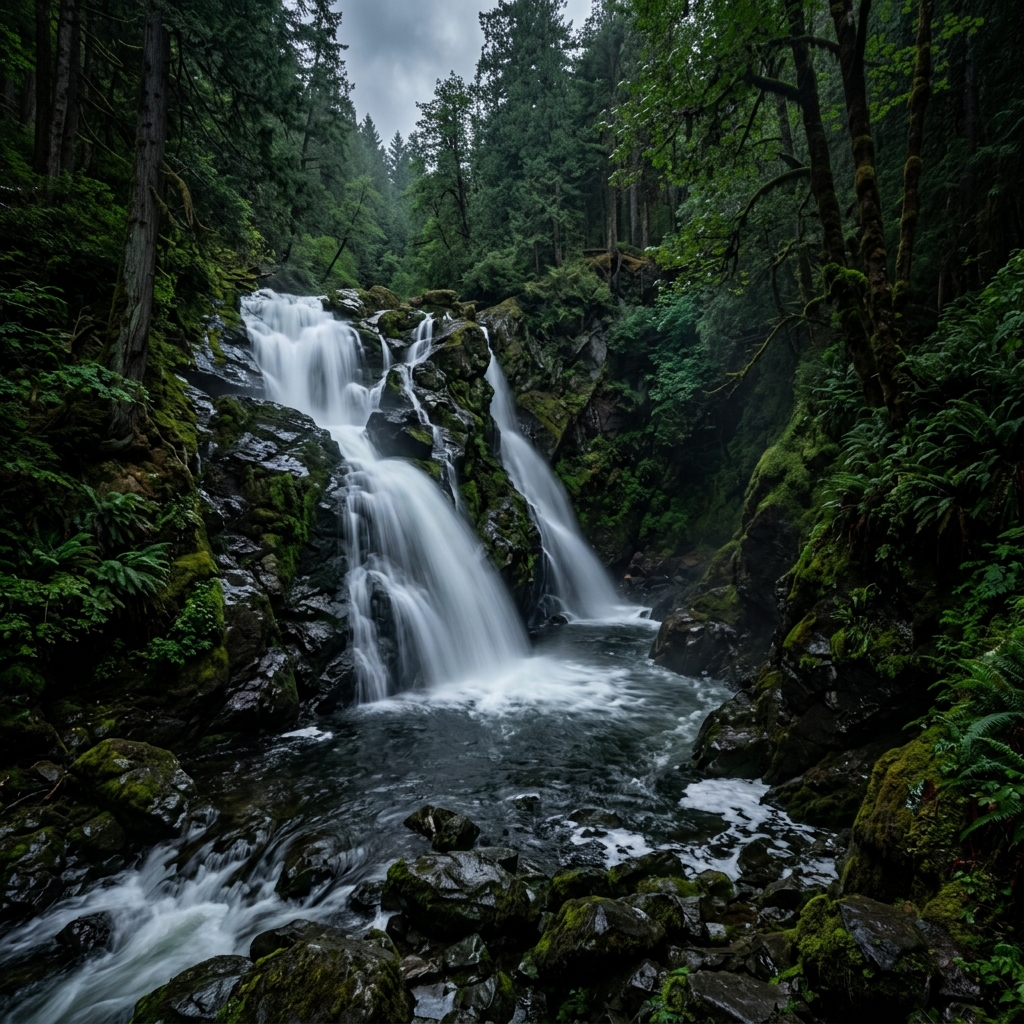
Using LeafyCam's Waterfall Mode to simulate a slow shutter speed.
6. Using Real-Time LUTs
While shooting RAW is essential for professional post-processing, sometimes you want to see how the final image will look while you are shooting. This helps immensely with composition and exposure decisions.
LeafyCam is unique because it allows you to apply professional cinematic LUTs (Look-Up Tables) directly in the viewfinder. You can shoot in RAW while previewing a moody, desaturated "Pacific Northwest" color grade in real-time. This ensures that what you see is what you get, bridging the gap between raw data capture and the final cinematic vision.
7. Composition Settings
Camera settings aren't just about light; they are also about geometry.
- Grid Lines: Always turn on the 3x3 grid (Rule of Thirds). In a chaotic forest, placing your main subject (like a distinctive tree or a person) on one of the intersecting lines helps anchor the image.
- Virtual Horizon / Level: Forests are rarely flat. It is very easy to hold your phone at an angle without realizing it, resulting in crooked trees. Use LeafyCam's built-in gyro level to ensure your phone is perfectly upright.
Conclusion
Forest photography rewards patience and technical control. By stepping away from the automatic settings of your default camera app and embracing manual exposure, low ISO, manual focus, and RAW capture, you will elevate your nature photography from simple snapshots to cinematic art.
Download LeafyCam today to access all the professional tools mentioned in this guide, and start capturing the wilderness as it was meant to be seen.